Farmigo can help you to manage multiple waitlists for locations and for shares. Today's tip focuses on how you may start a waitlist when you believe that you have sold out of all your shares for the time being.
PLEASE NOTE: If you want to allow members to continue to add options after they have signed up, you do NOT want to waitlist all of your shares.
PLEASE NOTE: If you want to allow members to continue to add options after they have signed up, you do NOT want to waitlist all of your shares.
Setting up the Waitlist
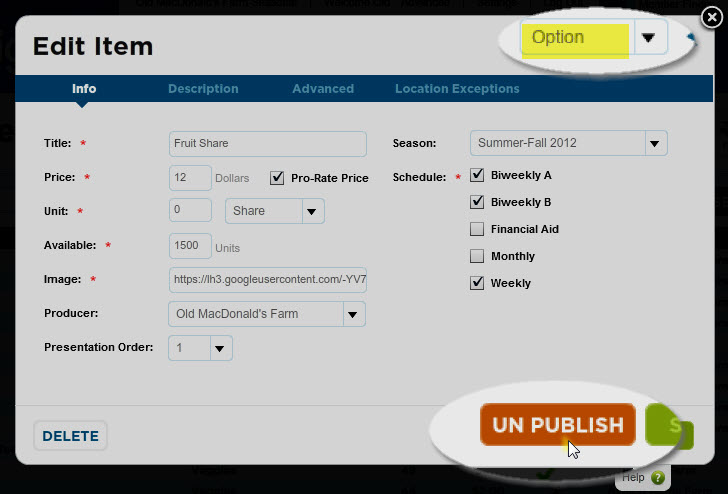
STEP 1: Go to the Items manager, found under the Market menu in your Dashboard. Unpublish any Options that have been set up.
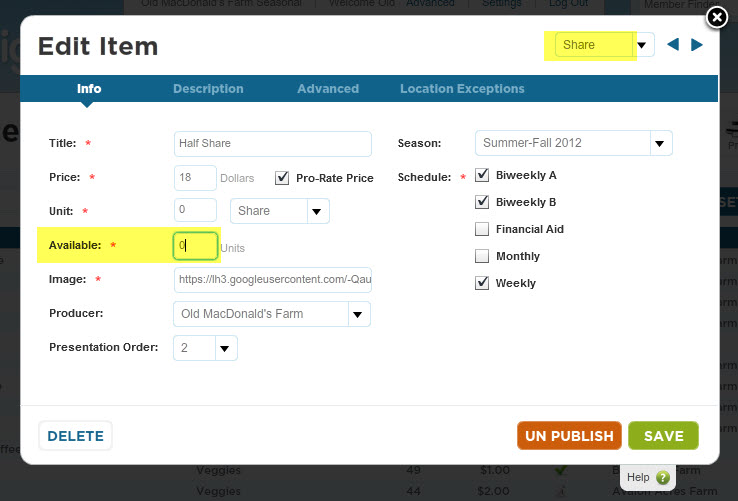
STEP 2: Open up the Item Editor for each of your Shares and set the number of available units to zero. Save changes.
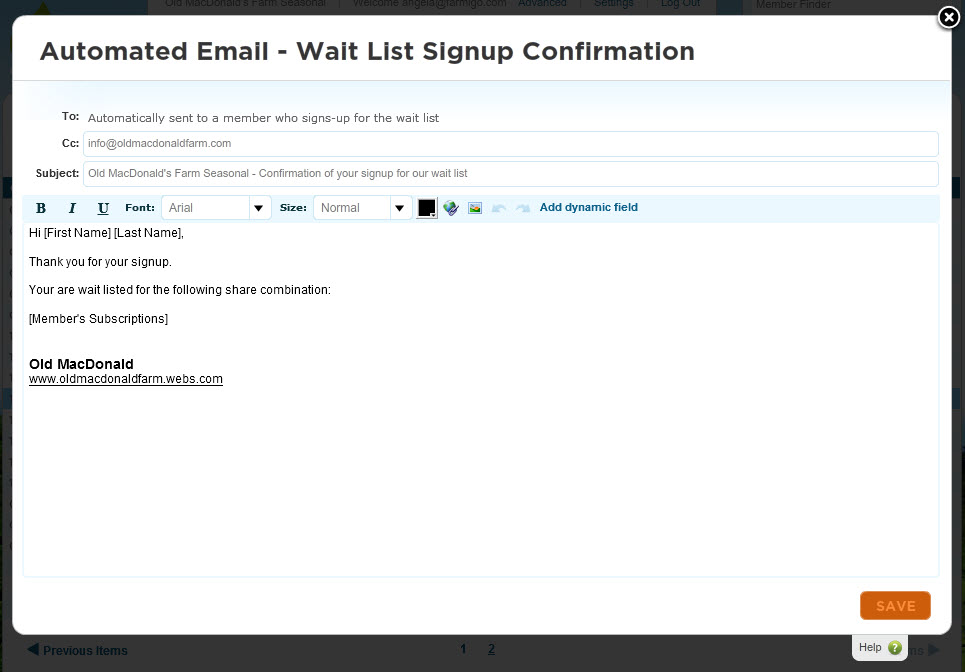
STEP 3: Go to the Connect manager, found under the Market menu in your Dashboard. Review the information in the "Automated Email - Waitlist Signup Confirmation" and save changes.
What Your Members See
Now when a person visits your signup page (the join link), they will only asked to select their preferred share and share their contact information. They will not be asked for payment at this time.

How to Move Members Off the Waitlist
When you are confident that you have a enough shares to move some members of the waitlist, you may take the followings steps:
STEP 1: Go to the Items manager, found under the Market menu in the Dashboard. Open the Item Editor for the relevant share and increase the number of available units.
STEP 2: Go to the Waitlist manager, found under the Status menu in the Dashboard. Use the Item filter to find the members that are waiting on a particular share. Email each member in the list and ask them if they would like to be removed from the waitlist and what their preferred pickup location would be. When the member replies, go on to step 3.
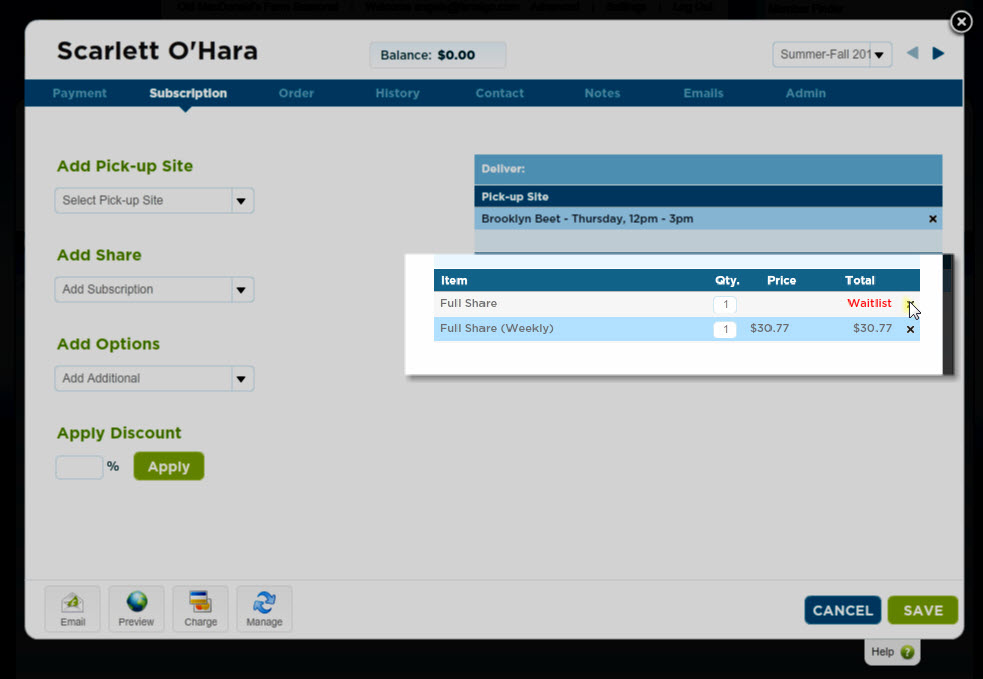
STEP 3: Open the Member Card for a member that you would like to remove from the waitlist. Under the Subscription tab, add their desired pickup location and their desired share. Remove the waitlisted share. Save changes.
STEP 1: Go to the Items manager, found under the Market menu in the Dashboard. Open the Item Editor for the relevant share and increase the number of available units.
STEP 2: Go to the Waitlist manager, found under the Status menu in the Dashboard. Use the Item filter to find the members that are waiting on a particular share. Email each member in the list and ask them if they would like to be removed from the waitlist and what their preferred pickup location would be. When the member replies, go on to step 3.
STEP 3: Open the Member Card for a member that you would like to remove from the waitlist. Under the Subscription tab, add their desired pickup location and their desired share. Remove the waitlisted share. Save changes.
STEP 4: Send the new member an email, which includes their pickup location, next date of delivery and a link to make a payment. (To set up an email template, go to the Connect manager under the Market menu.)
For More Information
To learn more about how the waitlist works in other situations, please visit our Help Site to learn more.